|
Raising the Bar to a New Level!
SoD keeps "one-upping" itself, as we acomplish more difficult tasks with minimal difficulty.
 I recon that the success we are enjoying lately, slaying mobs we couldn't defeat last quarter, is mainly due to the majority of the guild wearing upgrades looted from the Temple of Veeshan, which drastically added much needed AC, HP and MANA to the raid team, allowing us to last longer in fights, and use less cleric mana, making us stronger than our opponents. I recon that the success we are enjoying lately, slaying mobs we couldn't defeat last quarter, is mainly due to the majority of the guild wearing upgrades looted from the Temple of Veeshan, which drastically added much needed AC, HP and MANA to the raid team, allowing us to last longer in fights, and use less cleric mana, making us stronger than our opponents.
Every Saturday night for the last 4 months we have raided the Temple of Veeshan and over half the guild is wearing new upgrades looted from within the Halls of Testing. What does this do for us, you ask?
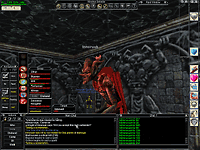 Oh! My God! Oh! My God!
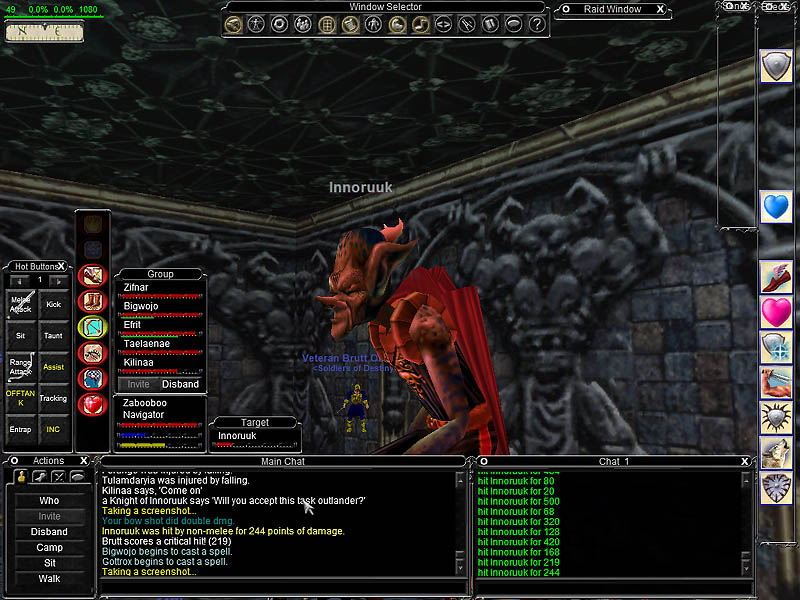
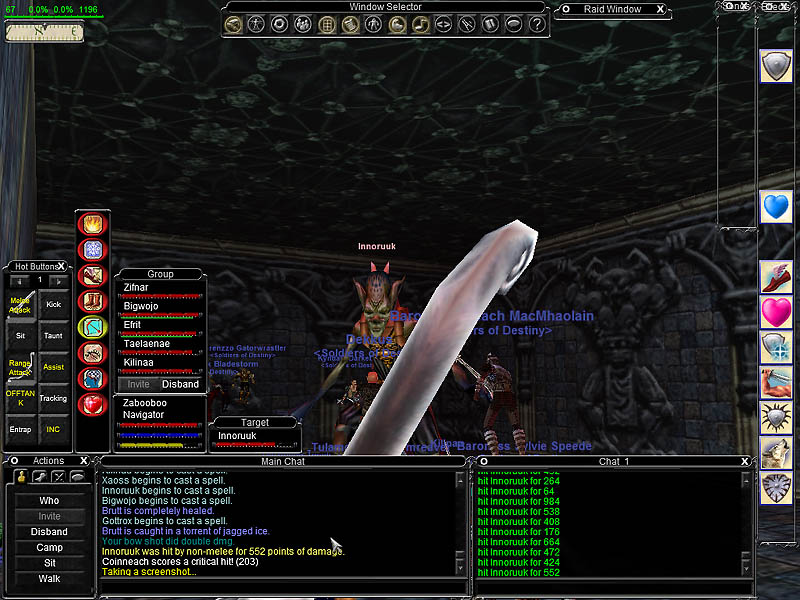
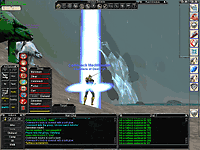
We recently killed our first God, Innorruk. We tried him just a few months ago and failed, could have been due to several factors, but I'm willing to bet our recent success was largely due to the armor upgrades we have been ph@rming in ToV, coupled with and increase of the average level of the players in the guild.
Innorruk, and all the mini-bosses on the way to him, did not drop the very rare Corrupted Emerald (for the ranger epic), Ashes for the Enchanter epic, or the Mage epic piece, which were our goals for this raid, however, the halfling and the dwarf in attendance received some new sandals and a cloak, for their efforts.
 Rest assured, we will go after Innorruk, (and Magi P'tasa), another day, and just like this last attempt, they won't live to tell the tale of our conquest. Rest assured, we will go after Innorruk, (and Magi P'tasa), another day, and just like this last attempt, they won't live to tell the tale of our conquest.
Don't you Mini-Boss me around!
Such mobs as Xanamech, Vhaksiz the Shade, Deyid the Twisted, Xanamech Nexmirthafen, are considered mini-bosses in the Planes of Power expansion, and are well within our target range as viable mobs to raid.
We have killed the above mini-bosses several times thus far, and they have dropped everything from the infamous Disembowler (12/20, 1hs + stats), to a Woven Shim Choker (41% haste necklace), to a Spectral Parchment (level 63-64 spell), and many more useful upgrades.
The strategy involved in killing each of these mobs is entirely different as we learned the hard way, at times.
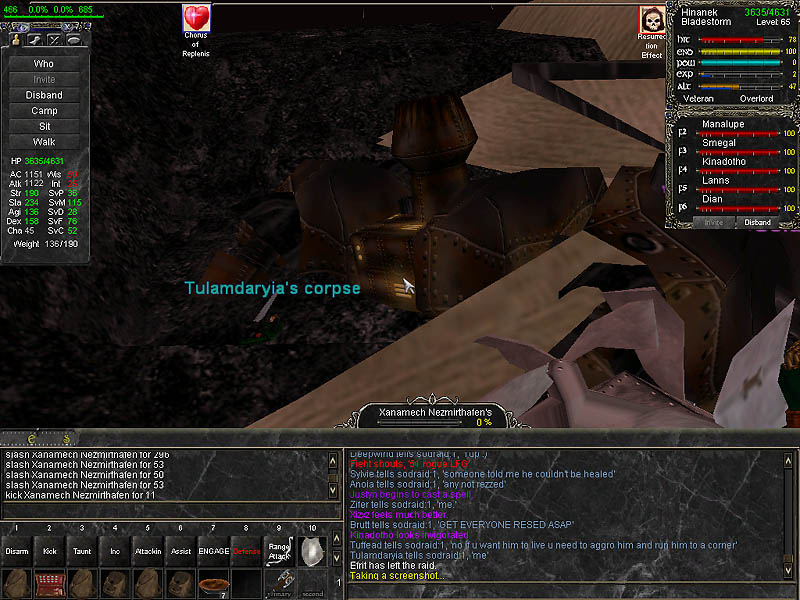
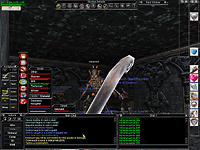
 Xanamech is a metal dragon, which is untargetable at first, until you start the event by giving a gnome in the Plane of Innovation three no-drop items which can be acquired in PoI as well. The gnome will start his journey towards his "experiment", (Xanamech), and make him come alive using the three items you gave him. This sounds easy at first, except we quicky found out the gnome will agro everything in his path and you must keep him alive as he walks thru the dirt-lined valleys of PoI. We delegated the task of Mesmerizing the gnome (if he got too far ahead of the raid party, as we killed his enemies), to Gottrox, one of our key enchanters, who would also Memory Blur his mind, and let him continue on his journey, as we cought up with him. Xanamech is a metal dragon, which is untargetable at first, until you start the event by giving a gnome in the Plane of Innovation three no-drop items which can be acquired in PoI as well. The gnome will start his journey towards his "experiment", (Xanamech), and make him come alive using the three items you gave him. This sounds easy at first, except we quicky found out the gnome will agro everything in his path and you must keep him alive as he walks thru the dirt-lined valleys of PoI. We delegated the task of Mesmerizing the gnome (if he got too far ahead of the raid party, as we killed his enemies), to Gottrox, one of our key enchanters, who would also Memory Blur his mind, and let him continue on his journey, as we cought up with him.
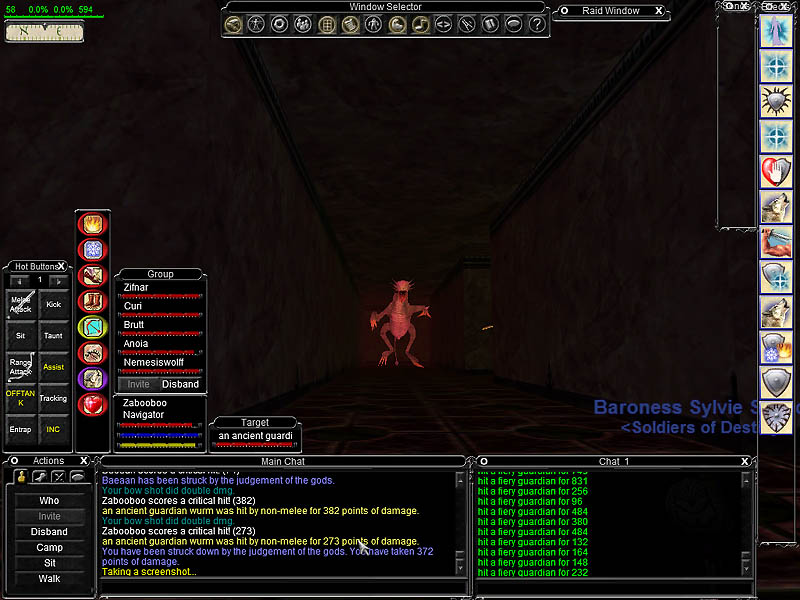
As we got to the room, we witnessed the dragon come alive, fiercely clawing and biting Tuffead for 1000+ damage per swipe, as the Enchanters and the Bard lowered his Magic Resistance, so the shaman could slow him down. Once slowed, it was all over but the old lady singing. The worst part about this metallic dragon is the Area Effect Stun that he casts on everyone around him, interrupting important heals, etc. At 1% health left on the beast, one of the clerics missed a crucial heal, causing Tuffead to be slain by the dragon. This left 2 other tanks who could take over in the Main Tank (MT) position, but they too, quickly perished, as our clerics couldn't modify their targeting as fast as Xanamech could modify our warrior's limbs. At 0% health, 2 fatal flurries and this ranger died, as well as half of the raid party, with no more defensive tanks left to take agro. Luckily for us, 1 cleric and a few casters delivered the final blow to Xanamech, leaving us able to ressurect the raid in time to loot the corpse. It was a close call, but we ported to safety, as the victors.
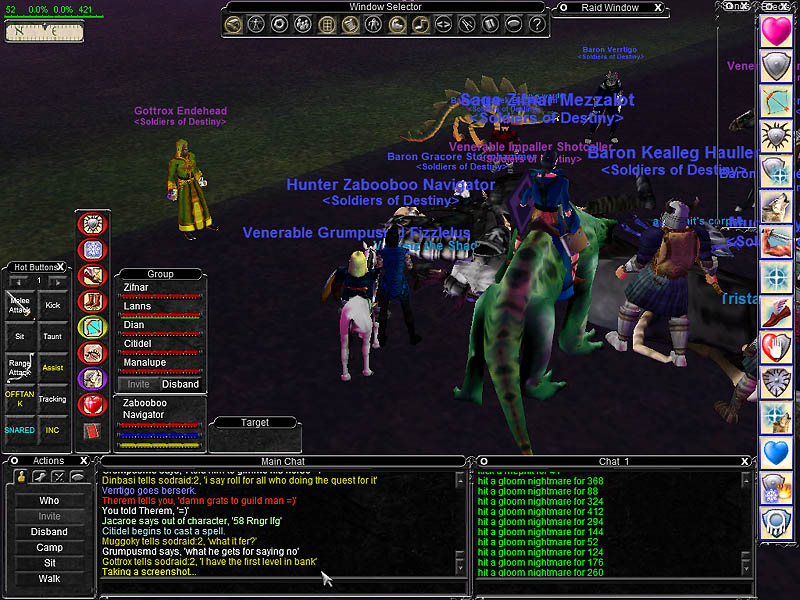
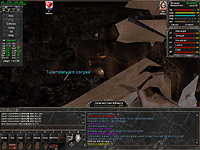
 Vhaksiz the Shade is an undead skeleton in a sweet suit of armor, sitting on horseback, deep in the Plane of Innovation. To get to him, you have to traverse through the underground caves, fighting fierce Hobgoblins and Mephits all the way, until you get to a clearing, where there, in the grassy gnoll, stands the devil herself. Vhaksiz the Shade is an undead skeleton in a sweet suit of armor, sitting on horseback, deep in the Plane of Innovation. To get to him, you have to traverse through the underground caves, fighting fierce Hobgoblins and Mephits all the way, until you get to a clearing, where there, in the grassy gnoll, stands the devil herself.
The Shade, similar to Xanamech, also hits for 1000+ and doens't give up his loot very easily, but in the end, he met his match, as the raid party showed him who was boss. Zifnar and Annoly used the mobs in the area to our benefit with their charming personality, persuaded them to join the dark side, for the fight, which helped with the "damage per second" (DPS) and dropped Vhaksiz quickly. This mob also always drops his heart, which is used in the second Magic Manual quest, for a nice WIS/INT range slot item, if you can somehow secure the other ingredients in the Bazaar, etc.
We have also discovered several new zones within the Planes of Power expansion. Upon completing the Trials event, in the Plane of Justice, you get "flagged" to enter the Plane of Valor and the Plane of Storms, as a reward for your hard work.
 In the Plane of Storms, the easiest mobs hit for 516 damage, and quickly summon you to your death if you try to run to safety. In PoS we discovered another quest, to get "flagged" for Bastion of Thunder zone. You have to acquire a Head, Sash, Bone, Beard, and 2 medallions from the giants who live within the zone. The giants mainly hit for 700's and the named giants hit for 984 and cannot be slowed. These named giants drop the medallions required for the BoT flag. Over a dozen of our SoD members are already flagged for BoT with the help of all those who are flagged for PoS. This is a quest of brutal force and staying power, whereas the PoJ trials is a quest of finesse and quickness, as you have only 30 seconds to kill each mob or you have to start the quest over. In the Plane of Storms, the easiest mobs hit for 516 damage, and quickly summon you to your death if you try to run to safety. In PoS we discovered another quest, to get "flagged" for Bastion of Thunder zone. You have to acquire a Head, Sash, Bone, Beard, and 2 medallions from the giants who live within the zone. The giants mainly hit for 700's and the named giants hit for 984 and cannot be slowed. These named giants drop the medallions required for the BoT flag. Over a dozen of our SoD members are already flagged for BoT with the help of all those who are flagged for PoS. This is a quest of brutal force and staying power, whereas the PoJ trials is a quest of finesse and quickness, as you have only 30 seconds to kill each mob or you have to start the quest over.
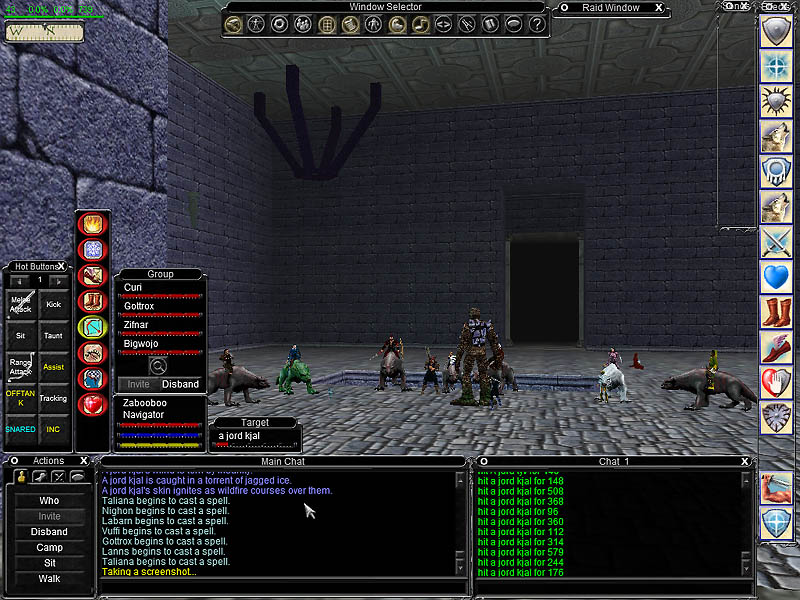
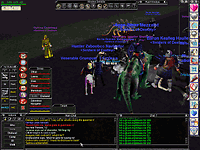
 Inside Bastion of Thunder, the home of Karana, you will find hundreds of Giants of four shapes and sizes (mostly giant-sized). The zone is divided up into four wings, each containing a specific type of giant. You have the North, South, East and West wings, housing the Sands, Wind, Water, and Lightning giants. Of course, there is a quest in BoT which can further your hunting excitement by granting you access to the Towers, where the giants hit even harder. There are also highly contested mini-bosses which can drop Spectral Parchments, Glyphed Runes, (level 65 spells), Armor Patterns and Molds, and nice weapon upgrades. Inside Bastion of Thunder, the home of Karana, you will find hundreds of Giants of four shapes and sizes (mostly giant-sized). The zone is divided up into four wings, each containing a specific type of giant. You have the North, South, East and West wings, housing the Sands, Wind, Water, and Lightning giants. Of course, there is a quest in BoT which can further your hunting excitement by granting you access to the Towers, where the giants hit even harder. There are also highly contested mini-bosses which can drop Spectral Parchments, Glyphed Runes, (level 65 spells), Armor Patterns and Molds, and nice weapon upgrades.
Unlike the PoJ trials quest, where each player needs to complete the quets individually before they may access the higher zones, only one key is required to transport a whole group of six players into the towers in BoT, however, we have many Soldiers flagged for this sector already.
 In some ways, the giants that live in BoT are easier than the giants in PoS, and are very well suited for XP grinding, yielding up to a blue bubble of experience per kill in a full group (depending on your level and your xp-to-aaxp ratio). You've probably seen the massive Heavy Windriders Lance that Coinneach is currently wielding... This dropped in BoT off one of the mini-bosses, and propells his damage to a whopping 45dmg / 40dly. Congratulations Coin! In some ways, the giants that live in BoT are easier than the giants in PoS, and are very well suited for XP grinding, yielding up to a blue bubble of experience per kill in a full group (depending on your level and your xp-to-aaxp ratio). You've probably seen the massive Heavy Windriders Lance that Coinneach is currently wielding... This dropped in BoT off one of the mini-bosses, and propells his damage to a whopping 45dmg / 40dly. Congratulations Coin!
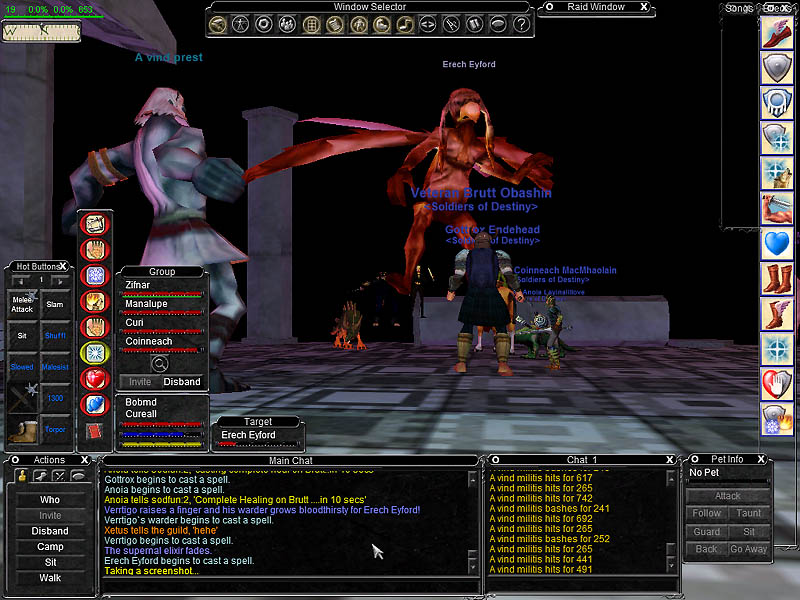
We have recently completed the quest to obtain a flag for one group of SoD members, to enter the Halls of Honor zone. This zone is heavily guarded by invisible men and women in armor, who worship Mathaniel Marr, some chose black and some dawn white armor. This zone, evidently, is where the Windblade and the Defender's Lightblade are known to drop.
 There is also an occassional Spectral Parchment which drops off random mobs in the zone. You may also come across Human Guards who wander the zone wearing nice silver plate armor, and con even to 65. None of the mobs are very resistant to magic and are easily slowed, and have considerably less hit points than the mobs in BoT. 98% of the mobs in HoH do not cast magic, and I have noticed that very few of them summon, maybe 2% of them summon, and 2% are not able to be snared or rooted, however you cannot tell which ones these are, before the pull. There are also low level mobs which can be Dire Charmed, located conveniently near the Zone In. There is also an occassional Spectral Parchment which drops off random mobs in the zone. You may also come across Human Guards who wander the zone wearing nice silver plate armor, and con even to 65. None of the mobs are very resistant to magic and are easily slowed, and have considerably less hit points than the mobs in BoT. 98% of the mobs in HoH do not cast magic, and I have noticed that very few of them summon, maybe 2% of them summon, and 2% are not able to be snared or rooted, however you cannot tell which ones these are, before the pull. There are also low level mobs which can be Dire Charmed, located conveniently near the Zone In.
 We are hoping to complete several more HoH flag quests in the very near future to get many more of you Tier 2 players into Tier 3 zones like HoH and BoT for the adventure, as we further our ability to kill tougher mobs and get closer to the endgame strategies. We are hoping to complete several more HoH flag quests in the very near future to get many more of you Tier 2 players into Tier 3 zones like HoH and BoT for the adventure, as we further our ability to kill tougher mobs and get closer to the endgame strategies.
Unfortunately, Coinneach was abducted by an alien UFO just before he completed the quest, and instead of being promoted, he was probably being probed =p
SoD has also killed many of the bosses in the Legacy of Ykesha expansion... stay tuned for updates!
Photos and text courtesy Hinanek and Zabooboo.
Agro Management -- by: Taliana
When raiding, one of the most important things to remember is that the MA must always be at the top of the mob's hate list.
When we attack a mob during a raid, every person who is helping (either by dealing damage directly, healing or buffing players who are doing damage or healing) is placed on the mob's hate list. The hate list is used by the mob to determine who it is going to attack next.
The general rule is that you want a single person to be taking all damage from the mob. The main reason for this is to allow healers to concentrate on keeping a single person alive.
To keep the MA at the top of the hate list, the MA must be constantly building up hate (also known as "taunt" or "aggro"), and ensure that they are building up more hate than the other players.
Damage, taunting, procs, spells, heals, buffs, proximity and faction all play a part in building up hate. So to ensure that the MA remains at the top of the hate list, we need to ensure we use agro management.
In order to obtain aggro management, the following things are important:
- Try to keep the mob relatively still and facing the MA (ie., avoid ping-pong). This will be covered further in future guides.
- The MA will try to control aggro by using taunt, bashing, slamming (or even begging - make a macro to turn attack off, beg, and then attack again).
- The closer you are to a mob, the more hate you will generate. The MA should stand as close to the mob as possible, while all others should be at maximum melee range.
- As a general rule, a straight DoT is fairly low aggro. A DD + DoT is very high aggro. Slows, heals and DDs are also high aggro. A debuff (especially a DD + debuff or a DoT + debuff) is extremely high aggro.
- Never sit during a major encounter. At a minimum, wait at least five seconds after casting a nuke before sitting, or if you know the spell you have cast is high aggro, wait until the mob is dead before you sit.
- If you can jolt or evade, do so periodically during the fight to reduce your aggro. Don't wait until you get the mob's attention. If you aren't a ranger or rogue, you may simply have to turn attack off if you start to get too much aggro to allow your hate to decrease.
- Never taunt unless you are the MA or you are trying to pull the mob off a caster.
- Monks, SKs and Necros, you can FD and remove yourself from the mob's hate list for as long as you are FD. Use this to allow your hate to decrease and the MA's hate to increase.
TIP: Root can be a great spell. A rooted mob will attack the nearest person. As the MA should be the nearest person, root will help keep aggro on the MA even if our chanters are tashing or our slowers are slowing. The MA should be as close as possible to the mob, and the mob rooted, before casting any high-aggro spells. Ensure however that the MA has aggro so that a failed root does not cause the mob to go after the caster.
We should remember that by getting aggro when we shouldn't have it, we are seriously harming our chances of success in a raid. A death during a raid not only requires a rez and rebuffing, but more importantly it means losing a valuable member of the raid at an important time in the fight. Every one of us plays an important role, and we need all of us alive so that we can take the mob down!
General Tips, Strategies and Tactics:
Here are a few miscellaneous tips that may be of interest.
- If the MA is having trouble holding agro try having a Ranger engage the mob using the Weaponshield discipline. The Ranger can build up a huge amount of aggro by casting all their high aggro spells, such as flame licks, snares etc. The Weaponshield discipline lasts for 18 seconds, so after about 16 seconds a Warrior should AE taunt, which will give them more aggro than the Ranger. This is a fast way to build up aggro on a mob because when a Warrior AE taunts he gets more aggro than the Ranger, then the next Warrior who AE taunts gets more aggro than the last Warrior, and so on.
- A number of mobs like Derakor the Vindicator and the Avatar of War cannot be slowed, however most mobs can. The debuff team must work together to tash, malo and then slow the mob quickly without earning agro. Some mobs like Dozekar, you must be within melee range to land a spell. Other mobs require a disease based slow to reduce their attack speed.
- To reduce spell interrupts caused by running and then casting, TURN right or left just before you cast. This will update the server of your new position and allow you to cast immediately without causing a spell interrupt.
- When fighting a mob that rampages, we should ensure that the MA engages first, then the SA, and then the plate classes (and finally everyone else). This will ensure that the people on the mob�s rampage list are plate classes and can take the beating.
- If possible, shrink everyone at the raid. Each mob has a �hitbox�, the size of which depends on the size of the mob. Some mobs like Dozekar the Cursed have a tiny hitbox, and shrinking us before the encounter will allow all of our melee to get within range of the mob�s hitbox without getting the �Your target is too far away to attack� message.
- Try not to summon a horse at a raid camp. Instead, summon the horse before the raid moves to the camp. Summoning a horse can sometimes bug the area, causing invisible walls that mess up pathing.
- On a raid, often Complete Healers will be in a Complete Heal rotation on the MA. Patch healers should /assist the mob to find out who the mob is attacking to see who they should be healing.
- ALWAYS be prepared with at least basic resist gear in your inventory so that a run to the bank is NOT required when we are racing another guild to a mob or raid spot.
- If you get agro in a raid, DO NOT RUN; rather stand and die. If you run, the mob will follow you, and this means the MA cannot taunt the mob off you. It may also mean that he brings friends back with him.
- If you accidentally loot your whole corpse before you get a rez, but catch yourself before you release it, either /q out or stay there and after three minutes you will automatically stand up and your corpse will remain.
- If you are a pet class, your pet can be your get-out-of-jail-free card. If you have to run, sic the pet on the mob and run like the wind (or evac). Yes druids, those little bears are good for something!
- You can drag up to three corpses at a time using the following set up:
Target first corpse and type /corpsedrag
Target second corpse and type /corpsedrag
Target third corpse and use /corpse hotkey.
(The first two corpses will follow you automatically.)
- When we are trying new raids, expect to die some. It happens.
|